Using lenses in the Console
This guide covers how to open, save, share, and manage lenses in the Hub Console. Lenses let you return to a saved view without rebuilding filters, sort order, or table layout each time.
Open a lens
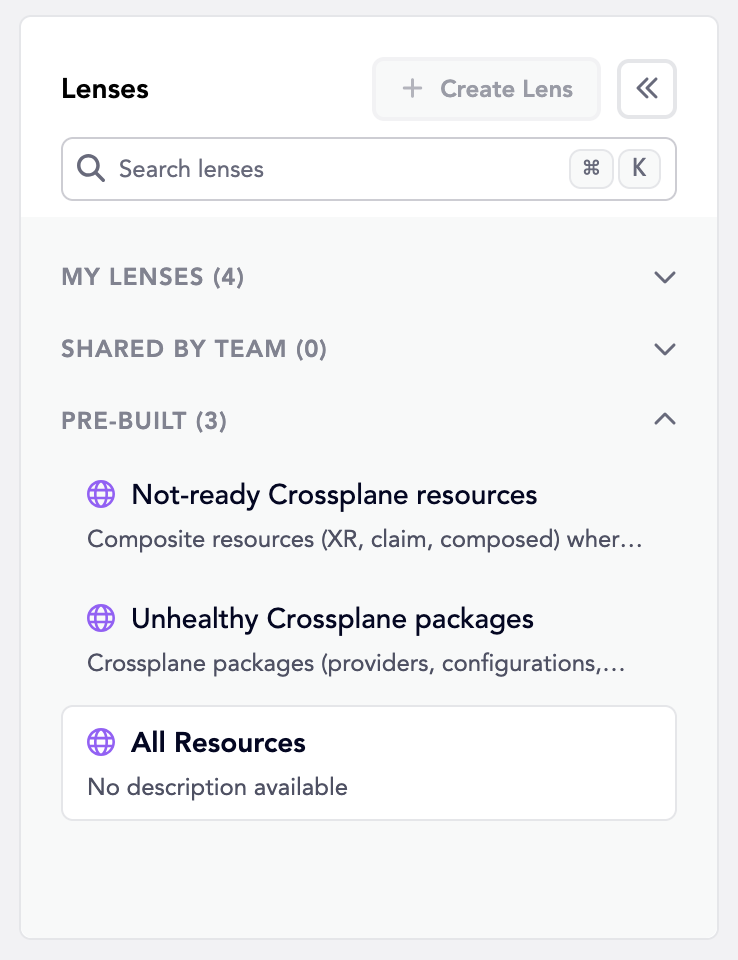
On the Resources page, open the Lenses panel on the left. The panel lists every lens you can use, grouped into three sections:
- My Lenses: Lenses created and owned by you
- Shared by Team: Lenses owned by a teammate, accessible to you
- Pre-built Lenses: Default Lenses shipped with the Hub
Select a lens from the list to apply its saved filter, sort, and column layout. The main area updates to show that lens's name, filters, and results.
Use the "Search lenses" field at the top of the panel to find a lens by name.
You can filter and sort the Resources table directly without selecting a lens. Changes settings will affect what you see right now, but they are not saved until you create or update a lens. Switching to another lens replaces your current view with that lens's saved settings.
Save your current view as a lens
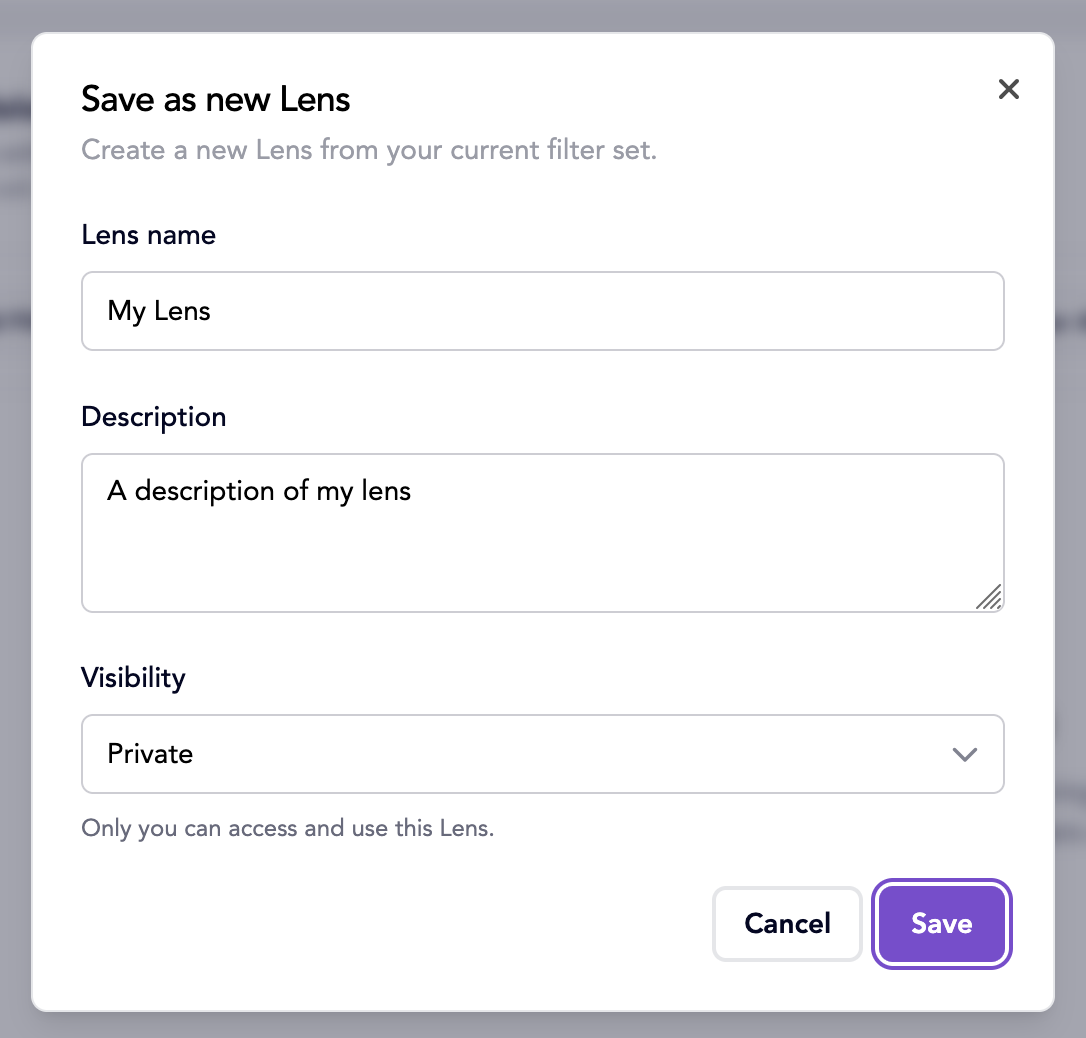
New lenses are private by default. They appear under "My Lenses" and show a lock icon. Only you can see and edit them until you share one with your team.
- Adjust filters, sort, and columns until the view looks right. Active filters appear as chips above the table.
- Click "Create Lens" in the Lenses panel header.
- Enter a name and, if you want, a short description. Hub saves the current filter, sort, and table layout to that lens.
After you save, the lens appears under "My Lenses".
Share a lens with your team
There are two ways to share a view with teammates, and they do different things.
Copy a public URL
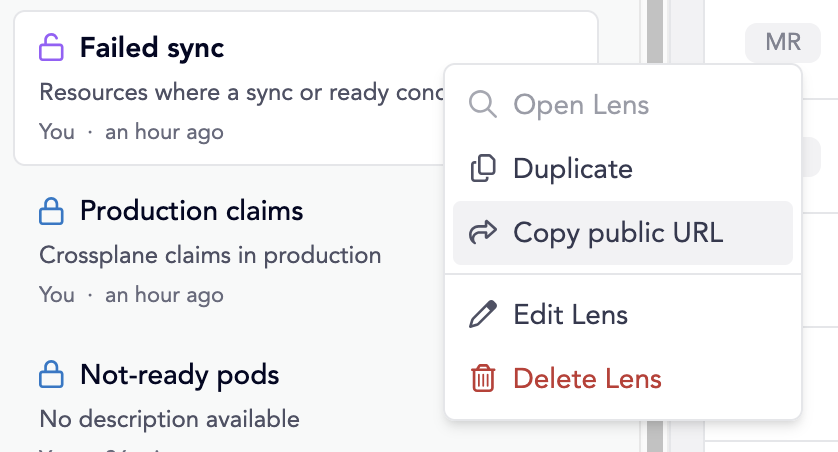
Right-click a lens in the Lenses panel and choose "Copy public URL". Hub copies a link that opens the Resources page with the same filter criteria applied.
The link contains the current filtering criteria for your teammates to use. Copying the link does not make your lens public. The lens stays private, and teammates open the same view from the URL rather than selecting your lens from the list.
Use this when you want to send someone a specific view quickly, such as in a chat message or incident thread, without making the lens visible to everyone in Hub.
Sharing the public URL shares the filtering criteria for the lens, not ownership of the lens itself.
Share a lens permanently
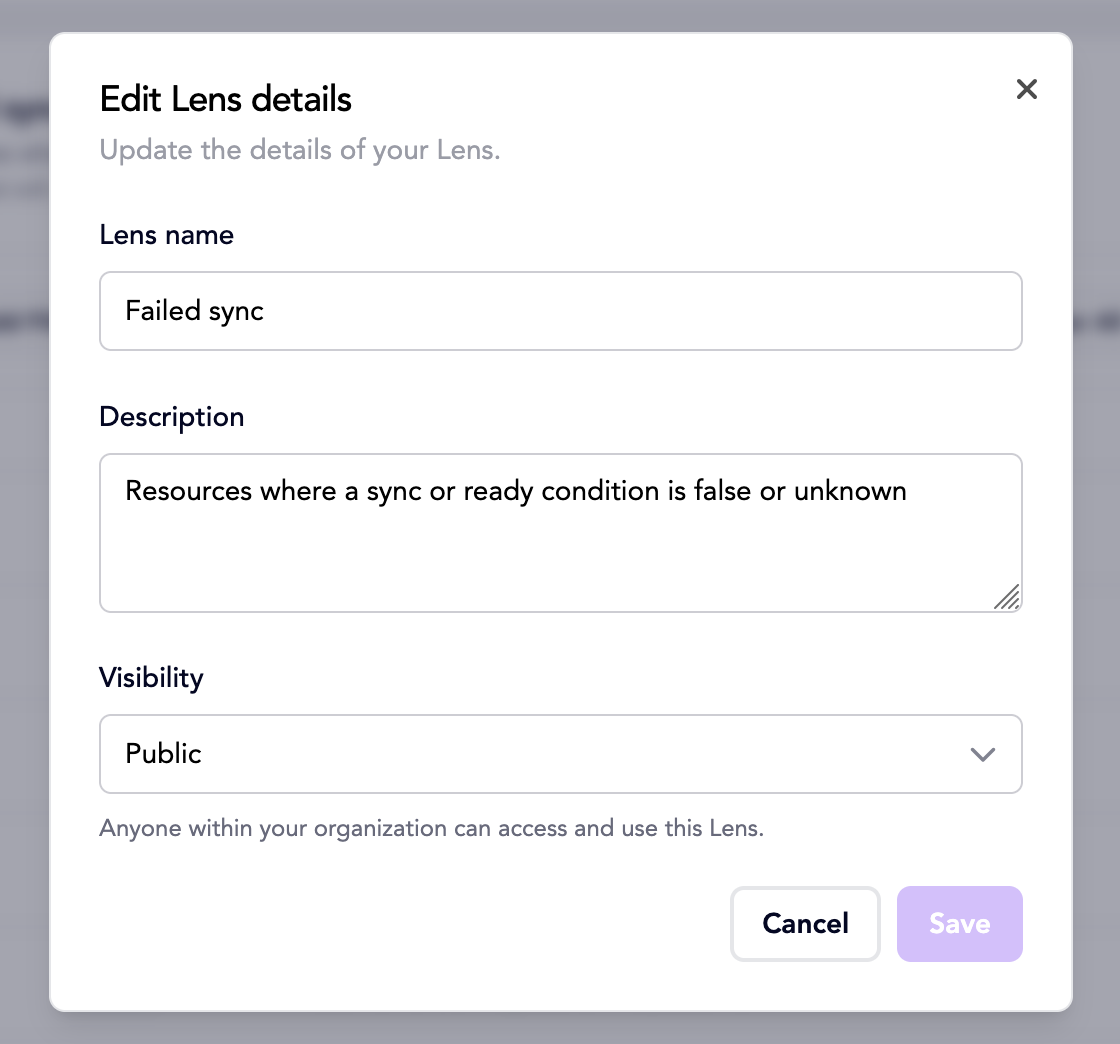
To make a lens available to everyone in Hub, right-click the lens and choose "Edit Lens". In the dialog, change "Visibility" to "Public", then save.
Shared lenses appear under "Shared by Team", where anyone can select and reuse them. Making a lens public does not give others edit rights. Only you can change or remove a lens you created.
Mark a lens publicly available when your team needs a reliable view of resources they can return to.
Edit or delete a lens you own
Open one of your lenses under "My Lenses", adjust the view, and save your changes from the menu on the lens header. Saving replaces the lens's stored view entirely.
You cannot edit or delete pre-built lenses or lenses owned by someone else. If you need a variant, adjust the view and click "Create Lens" to save it as a new lens.